Safely Posting Calligraphy Envelope Photos on Social Media
Feb 27, 2023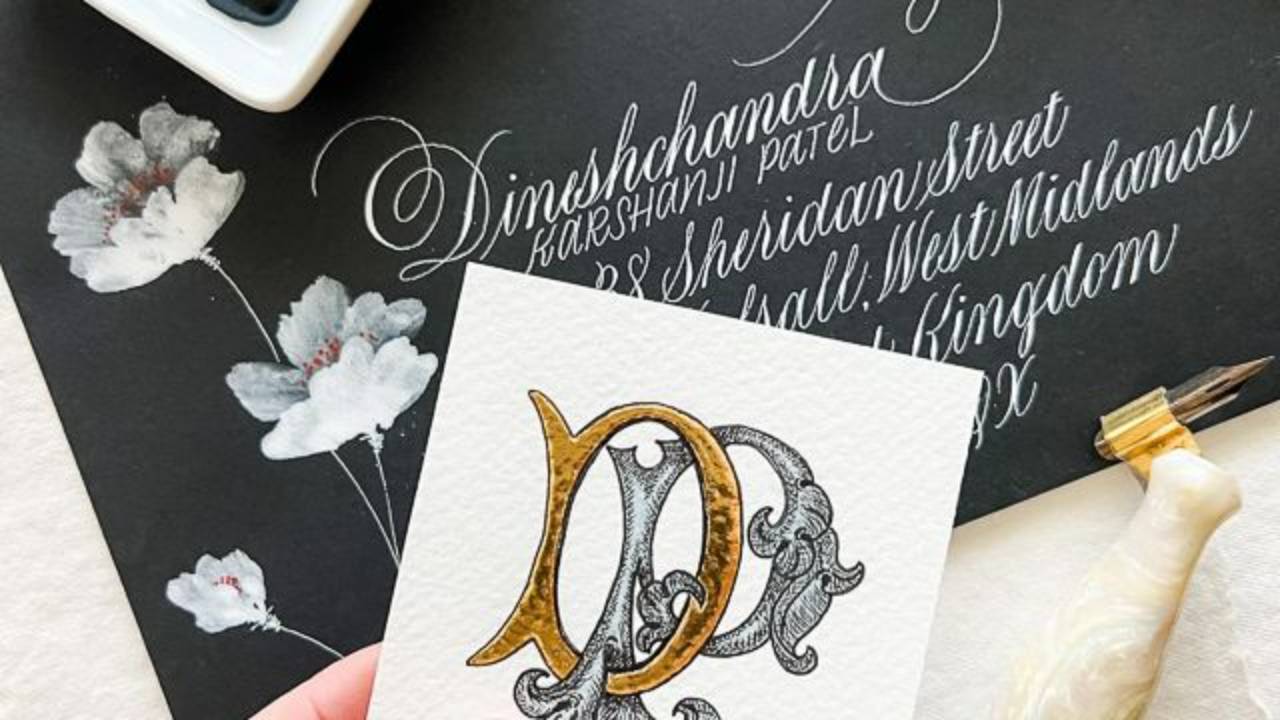
I'm in the middle of hosting Suzanne Cunningham's class Envelope Addressing & Etiquette where she teaches all the things we need to be aware of as calligraphers before offering addressing services. We thought it would be fun to host an envelope exchange so we all get some pretty mail (more on envelope exchanges below if you have not heard of them).
During the class and the exchange, it has come up a few times about respecting people's privacy and security when showing images of envelopes. We want to show off our beautiful creations and we want to see the envelopes you create, but we absolutely want to keep everyone's privacy in mind. I'm so used to doing this that it didn't even occur to me to make it clear that OF COURSE WE WOULD NEVER SHOW A WHOLE ADDRESS.
Here are a variety of ways to still show off our creations while ensuring everyone's safety and privacy:
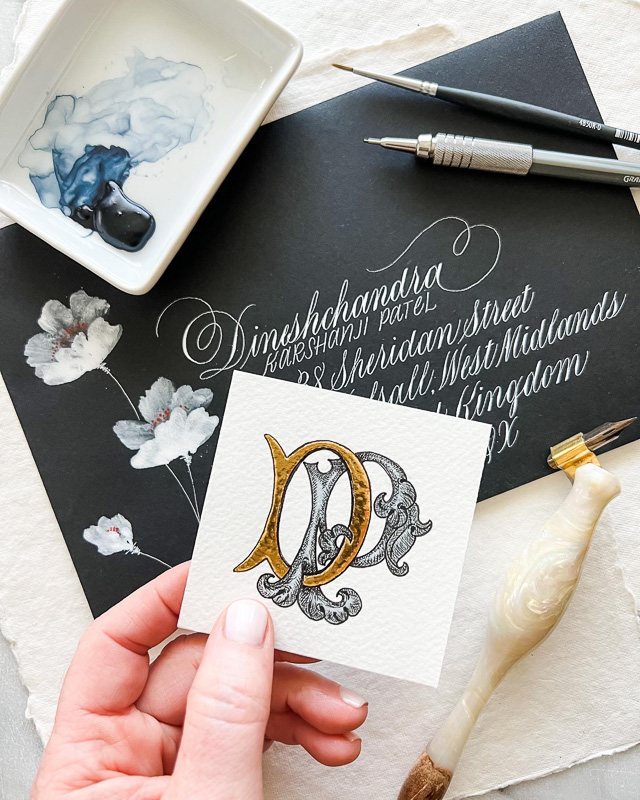
1) Block the view of a good portion of the address with the piece of art going on the inside. In this image, I made each person in my envelope exchange group an Illuminated Initial after taking Master Penman Harvest Crittenden's class. Not only did it serve the purpose of hiding part of the address, it was also a fun way to document my work before sending it off.
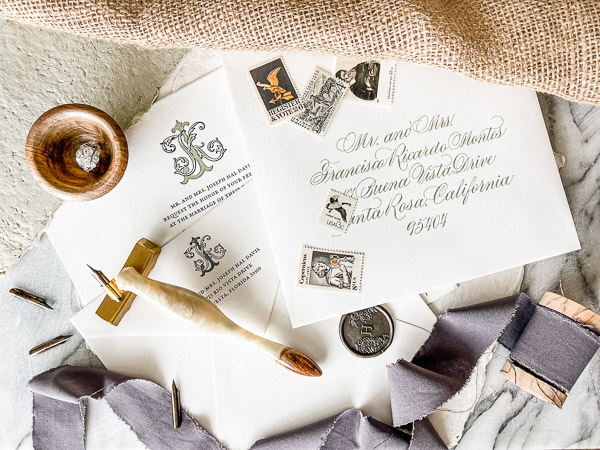
2) Lay an extra postage stamp over the house number. There are so many beautiful stamps that they are actually fun to use as photo props.
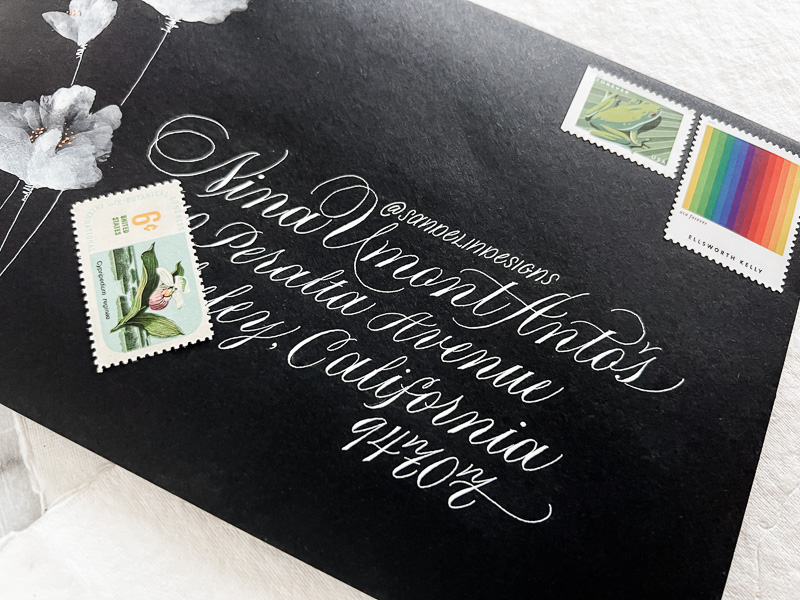
3) Digitally alter the address. In this photo, I used Photoshop to completely change the house number and the street number. I deleted one digit, then borrowed numbers from the zip code and scrambled things. So, while this started as a photo of a person's real address, it's no longer correct or accurate.
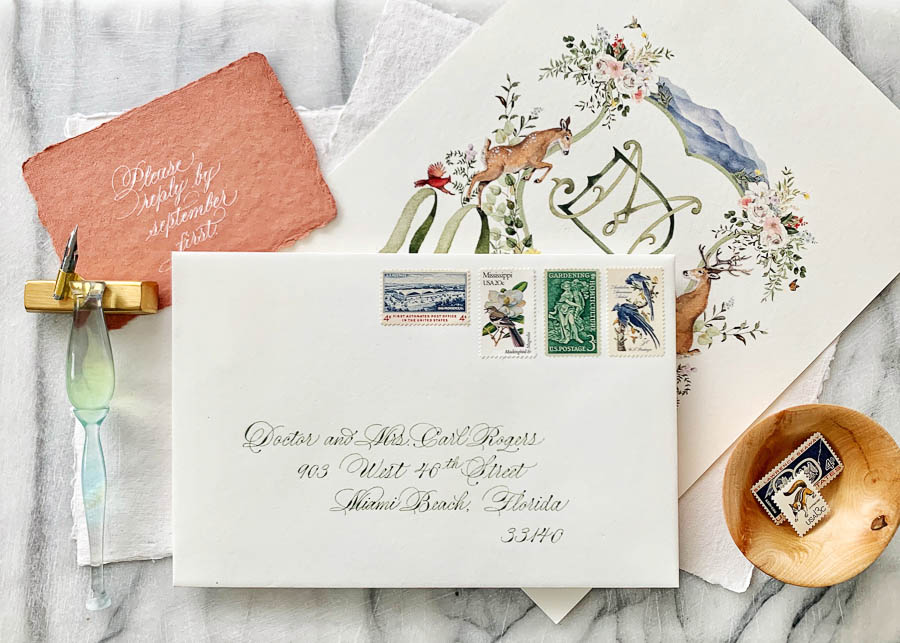
4) Strategically place your calligraphy pen over a portion of the house number to block it from view. We all have beautiful holders (this one is from INKMETHIS made by my main squeeze). Calligraphy pens are so unique and represent our artform. It's fun to let them share the stage with the pieces they make.
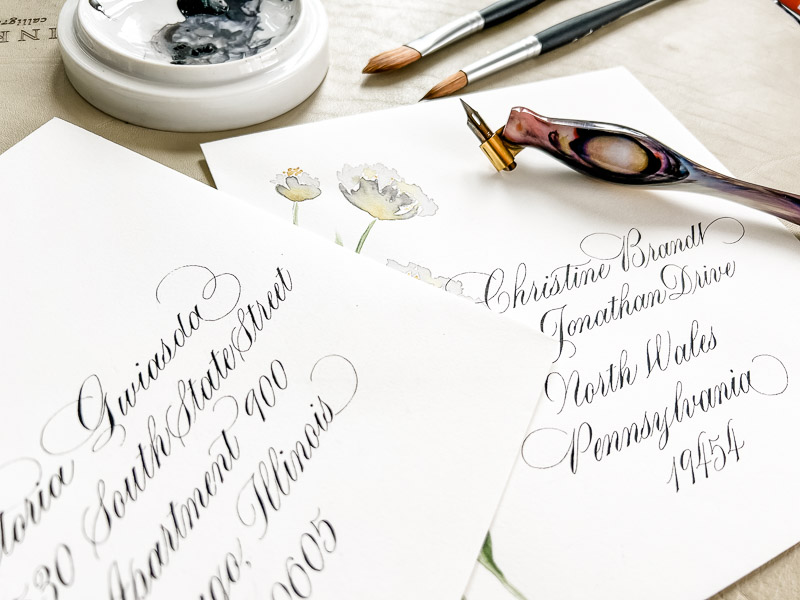
5) Grab a flower or leaf from your yard and pretty up your image while using it to hide the house number.
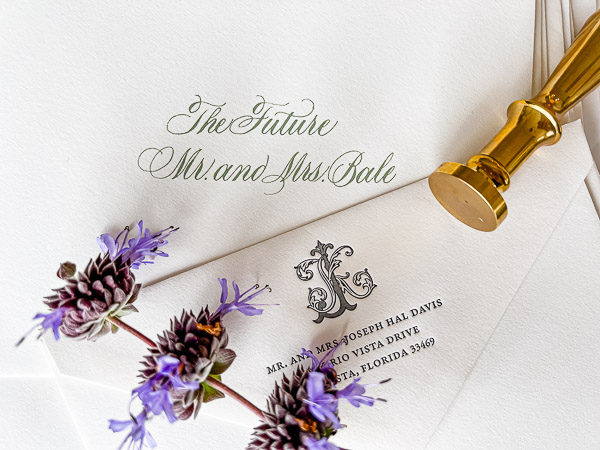
5) Crop the image cutting the house number off from view. Here, I show two envelopes. One is blocking the house number of the envelope underneath and the top envelope is cropped so it's house number is out of the frame.
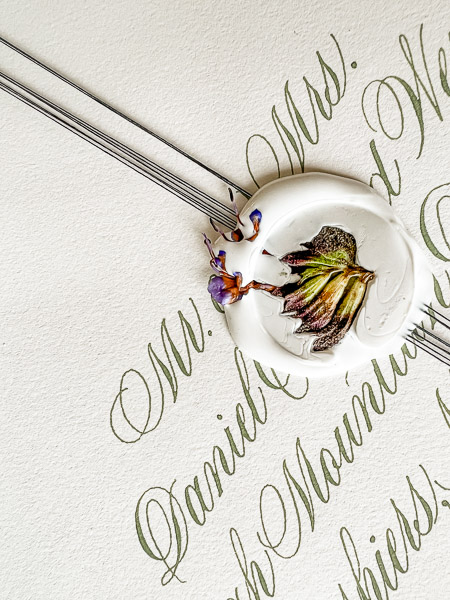
6) Use a wax seal to hide the name of the recipient. This is a bundle of envelopes ready to be returned to the client. I used the backing of a shipping label (that shiny paper you can peal stickers off of) under the seal when I pressed it. After the wax had hardened, I removed the sticker backing. This keeps the seal free-floating on the string.
So, take pictures. Show off your work, Let us all see your gorgeous creations. This is especially important if you are seeking addressing clients: you can only get clients for the type of work people know you do. But find creative ways to protect the privacy of the addressee.
7) And, for the love of all things calligraphy, please don't ruin your beautiful photo like this:

ABOUT ENVELOPE EXCHANGES
Envelope exchanges are so much fun! And they are a great way to practice a new skill you are learning. For example, I decorated these black envelopes with the white flower right after taking Jen Sweeney's Wedge Brush Garden class so that I could get some practice in.
Here's how they work:
1) People sign up to participate
2) The organizer divides people into groups (normally 5-6 people per group)
3) Everyone receives information for their group (name, address, email)
4) You make a pretty envelope for everyone in your group
5) You get a pretty envelope from everyone in your group
6) Whatever you put on the inside is just for fun: a quick note, a bookmark... the focus is more on the envelope decorating.


